As cryptocurrency adoption grows worldwide, more people are taking control of their finances through self-custody. Unlike traditional banking systems, blockchain technology gives users full ownership of their assets — but it also requires them to manage security independently. If private keys are lost, there is no password reset or support desk to restore access. This makes choosing the right wallet solution critical.
Trezor.io/start is the official setup gateway created by SatoshiLabs for initializing and configuring Trezor hardware wallets. It ensures users follow verified security steps, install authentic software, and create reliable recovery backups before managing digital assets. Whether you are storing Bitcoin long-term or actively using DeFi, Trezor.io/start provides a safe and structured beginning.
This guide explores how Trezor.io/start works, what to expect during setup, and why it remains one of the most trusted entry points into crypto self-custody.
Trezor.io/start is the manufacturer-approved onboarding page for Trezor hardware wallets. It protects users from counterfeit firmware, fake wallet software, and phishing scams by directing them to verified downloads and secure initialization processes.
Through this portal, users can:
Using Trezor.io/start ensures your wallet setup follows Trezor’s strict security framework from the very first step.
Storing cryptocurrency on exchanges or software wallets exposes private keys to online environments, where malware, phishing attacks, and hacks are common. Hardware wallets dramatically reduce these risks by keeping keys isolated inside secure devices and requiring physical confirmation for transactions.
Trezor.io/start provides seamless access to these protections.
Trezor.io/start works with all modern Trezor hardware wallets:
Both devices use the same trusted setup workflow.
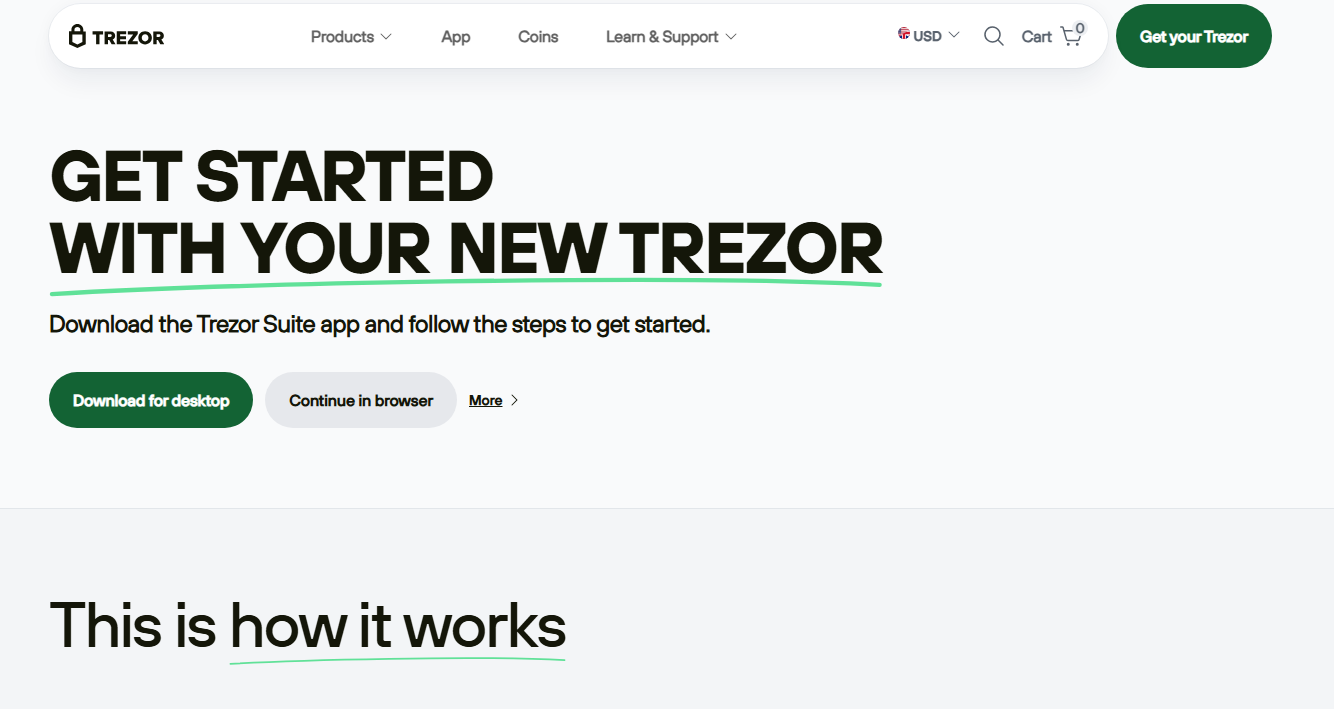
Follow these steps carefully to ensure your wallet is configured securely.
In your browser, type:
trezor.io/start
Avoid clicking sponsored ads or unknown links. Bookmark the official page for future use.
Select your Trezor device model so the instructions match your hardware.
Trezor Suite is the official wallet management software that allows you to:
Only download Trezor Suite directly from Trezor.io/start.
After installation:
The application will guide you through the rest of the setup.
If your device is brand new, you’ll be prompted to install verified firmware. This step ensures your wallet runs trusted software before generating any keys.
Choose “Create new wallet” to generate a new cryptographic seed inside your Trezor hardware wallet. The private keys never leave the device.
Your Trezor device will display a 12-word or 24-word recovery seed, depending on your settings. This phrase is your master backup and the only way to restore your wallet if your device is lost, damaged, or stolen.
Trezor Suite will ask you to confirm the seed before proceeding.
Choose a strong PIN to protect your device from unauthorized access. The PIN entry uses a randomized keypad on your screen to prevent keylogging attacks.
Trezor supports advanced protections such as:
These features can be activated during setup or later.
Once setup is complete:
Your Trezor wallet is now ready for secure use.
Trezor Suite gives you access to a full crypto management ecosystem.
View balances, prices, and historical performance in one dashboard.
Trade cryptocurrencies directly inside Trezor Suite using integrated providers.
Manage ERC-20 tokens and supported NFTs securely.
Use Tor routing, labeling, and coin control tools for enhanced privacy.
Install verified firmware updates to maintain wallet security.
Even with hardware protection, user behavior remains crucial.
Trezor will never ask for your recovery phrase — not via email, phone, or chat.
Only use Trezor.io/start for downloads and setup.
Avoid simple PINs and enable passphrase wallets for additional protection.
Use metal backups, safes, or other fire-resistant storage.
Manage your wallet only on trusted devices.
Your crypto is not stored on the device — it lives on the blockchain. Your Trezor only protects your private keys.
If your device is lost or destroyed:
As long as your recovery seed remains secure, your assets remain protected.
FeatureTrezor Hardware WalletSoftware WalletPrivate Key StorageOfflineOnlineMalware ProtectionVery HighModerateTransaction ApprovalPhysical deviceSoftware-basedBest for Long-Term StorageYesLimitedRecovery MethodRecovery seedPassword/email
Trezor.io/start offers enterprise-grade security in a user-friendly form.
Trezor.io/start guarantees:
Using unofficial sources significantly increases security risks.
Trezor.io/start is designed for all experience levels:
No technical knowledge is required to get started.
Create hidden wallets protected by custom passphrases.
Split your recovery seed into multiple shares for safer long-term storage.
Route network traffic through Tor for enhanced privacy.
Manually select inputs for better transaction management.
Trezor Suite works on:
This provides flexibility for managing assets across devices.
Trezor wallets do not rely on usernames, passwords, or email accounts. Security is based on:
This eliminates centralized attack surfaces.
Trezor firmware updates improve:
Always back up your recovery seed before updating.
Trezor.io/start is ideal for:
Anyone who values ownership and transparency benefits from Trezor hardware wallets.
Trezor is trusted globally because of:
Trezor.io/start plays a key role in maintaining this trust.
Trezor.io/start is the most reliable gateway into hardware wallet security. By following the official setup process — installing Trezor Suite, creating a strong PIN, backing up your recovery seed, and verifying firmware — users gain complete control over their digital assets.
In a crypto landscape full of hacks, scams, and exchange failures, Trezor.io/start delivers confidence through offline key storage, open-source transparency, and verified software.